Found some time over the weekend to get back to it. I had snuck in some time and removed the refrigerator last week but unfortunately neglected to take pictures. It was a reasonably straight forward affair. The unit was bolted to the floor with four bolts. Three unscrewed but one had to be sawed off. Other than that it was a case of unplugging and unhooking the propane lines and it was out.
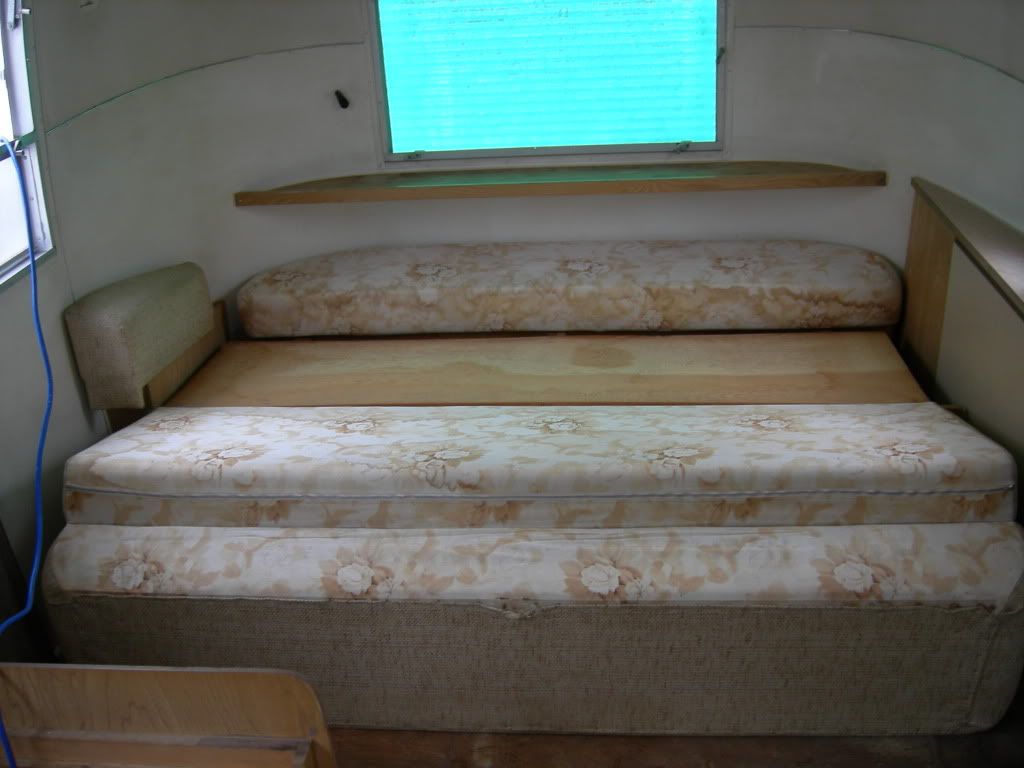
Now it's on to the front gaucho. Much the same as the side but I took a few more photos to document things I missed with the side unit. The plywood base for the cushions was easily accessible by flipping up the cushions as you can see above. That gave access to the five Philips-head screws that mounted it to the sliding rails.The cushions and the plywood all came off together and left the frame.
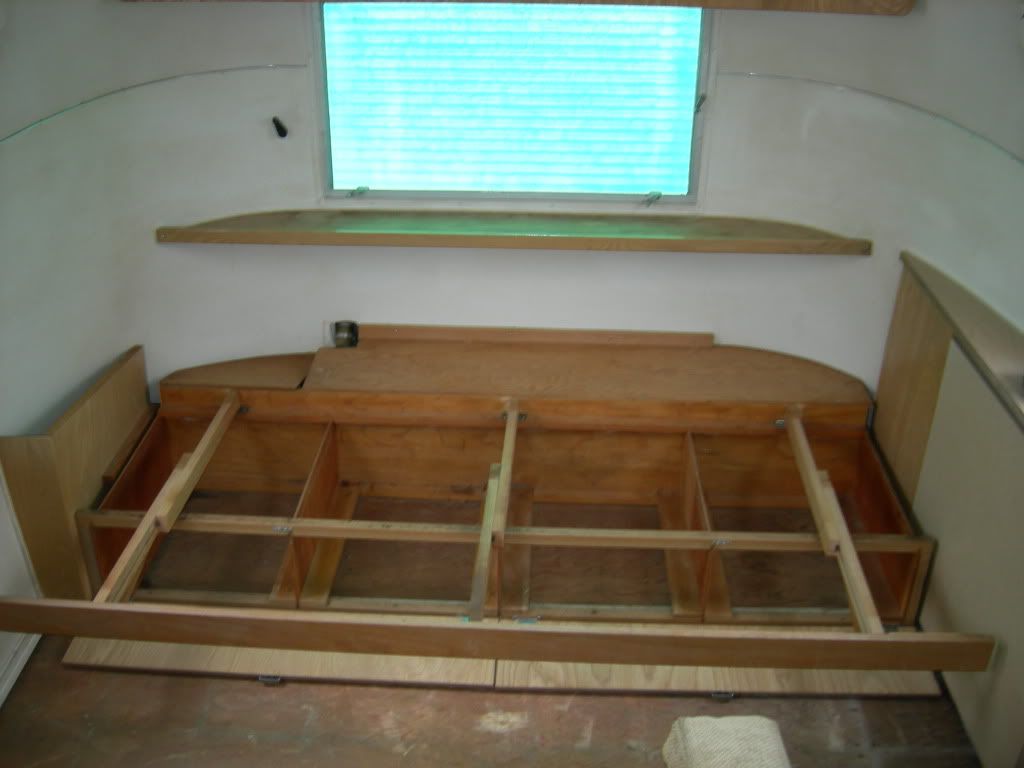
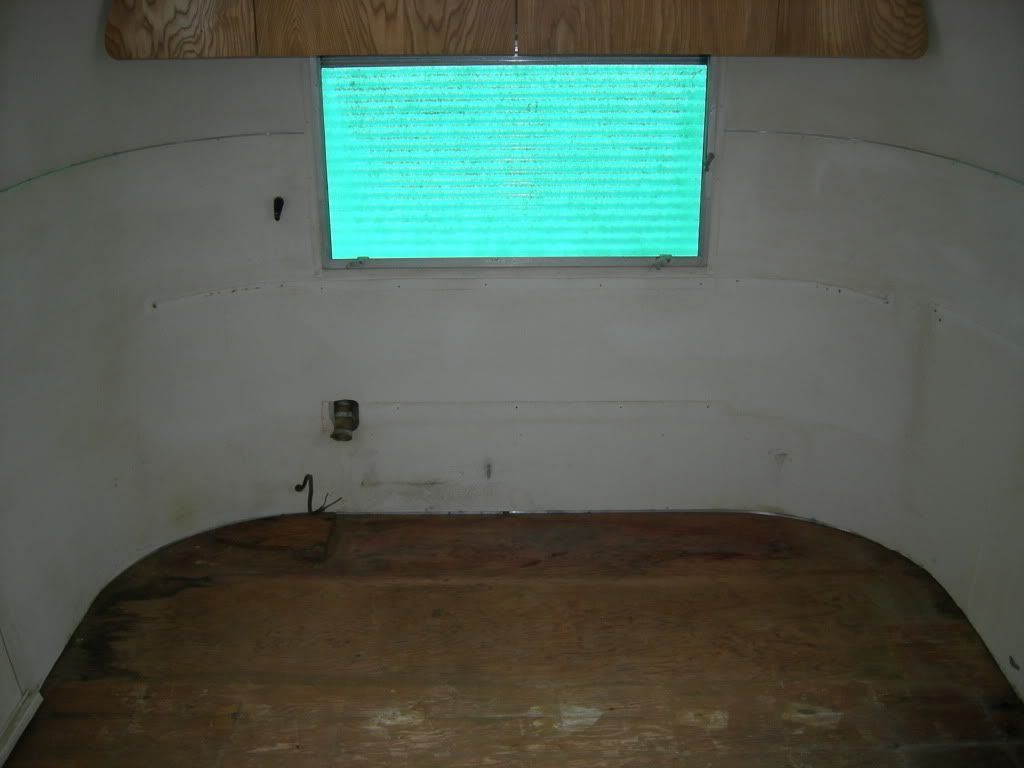
The frame rails were attached with hinges in the back. I'm not convinced this was the way it came from the factory, but it was solid. I unscrewed those to remove the slid-out assembly. Then it was pretty much the same as the other unit. Had to undo the bottom frame screws that attached it to the floor and a few in back to get the whole frame out. There was a shelf below the window that was also as easy as removing a few screws. With the all that off there was just the fresh water tank and pump left.
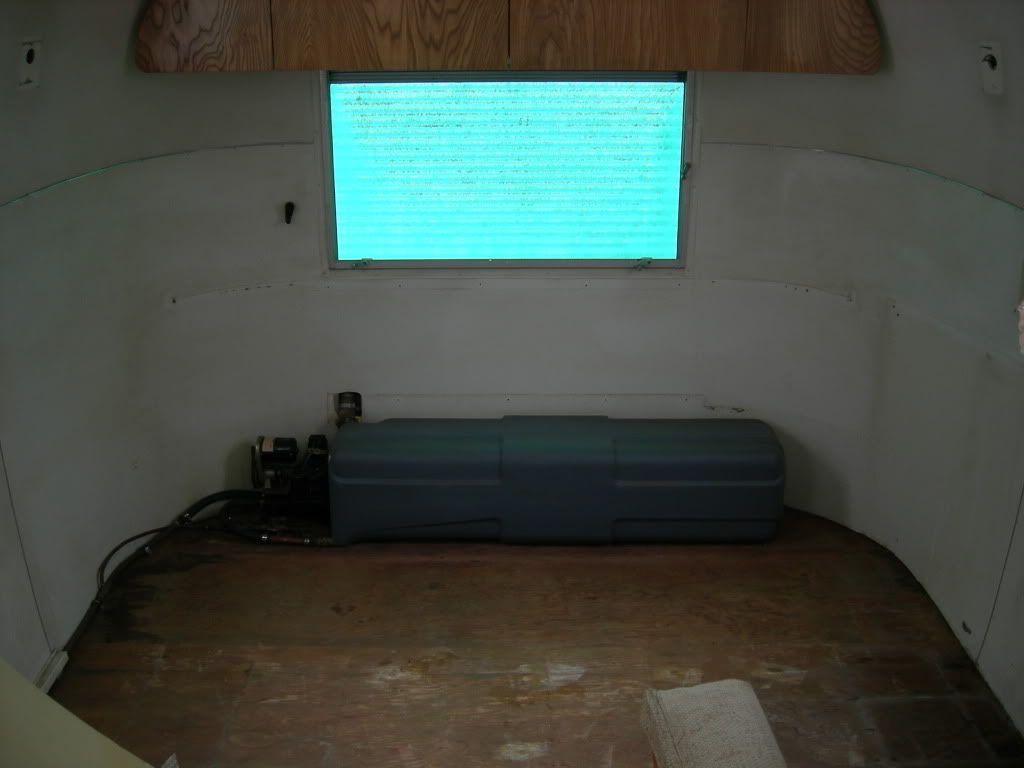
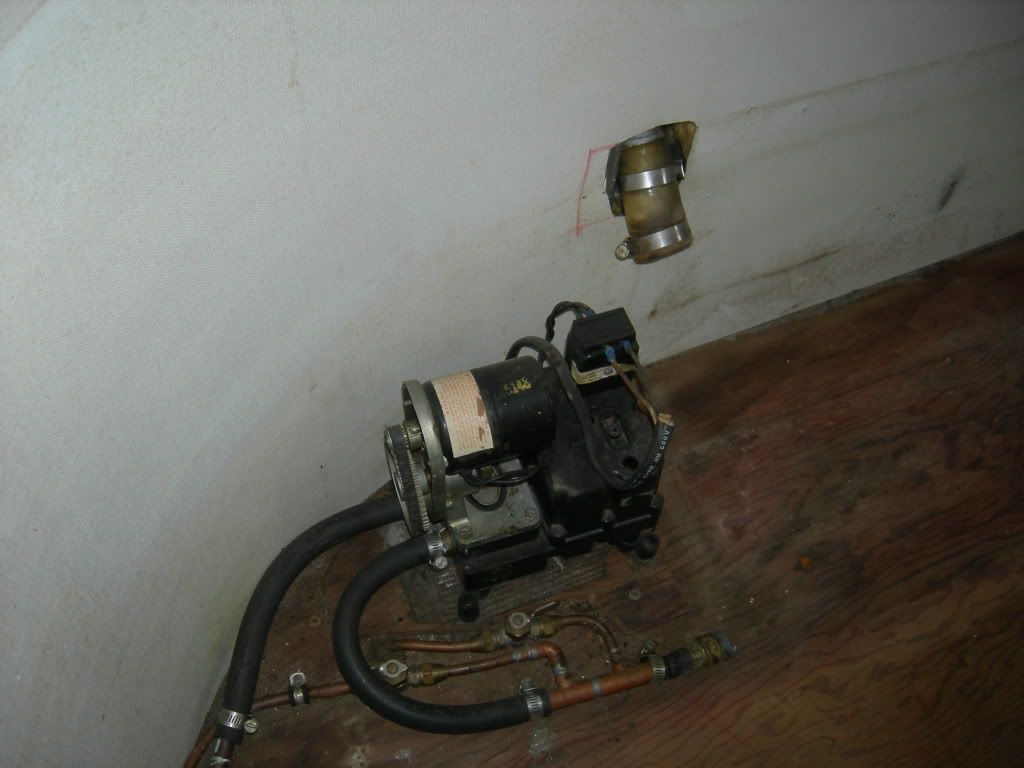
The tank was just held in pace by the gaucho frame and it's connections to the pump and plumbing so getting it out was pretty easy. The pump was held in place by four screws. The front two were easy but the rear two were a tricky angle due to being so close tot the wall.
There was a table on the right side of the gaucho which came out by removing a few screws and rivets too. Once that was out it was pretty clear. Time to clean up and inspect the newly clean slate.