
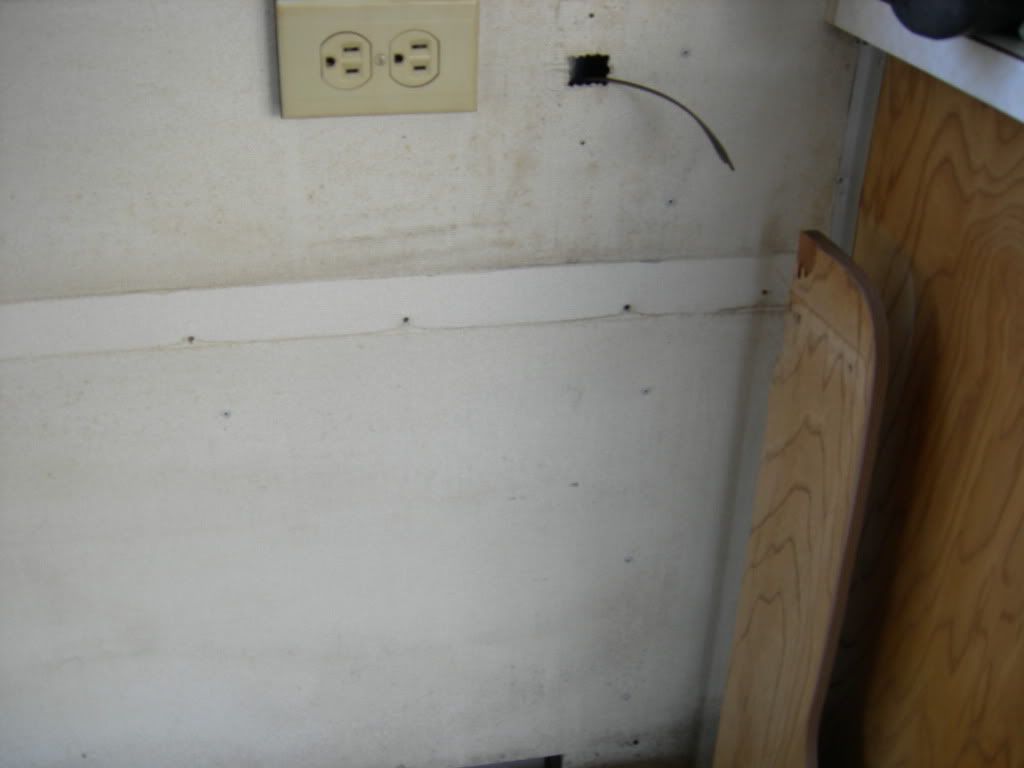
Our next bit of progress was to remove the side pull-out couch a.k.a. gaucho. Overall this was a pretty simple process. The wall on the left had been removed in the bathroom extraction. There were a couple of screw in either direction into that wall. Removing them was just a matter of sliding the bed frame to a position that allowed us to access the screws.
The cushions sit on a piece of plywood. That is secured to the sliders by a few screws as well (5 in our case). Once those were removed all of the cushions came off with the piece of plywood as a single assembly. At that point we were down to the wooden frame.
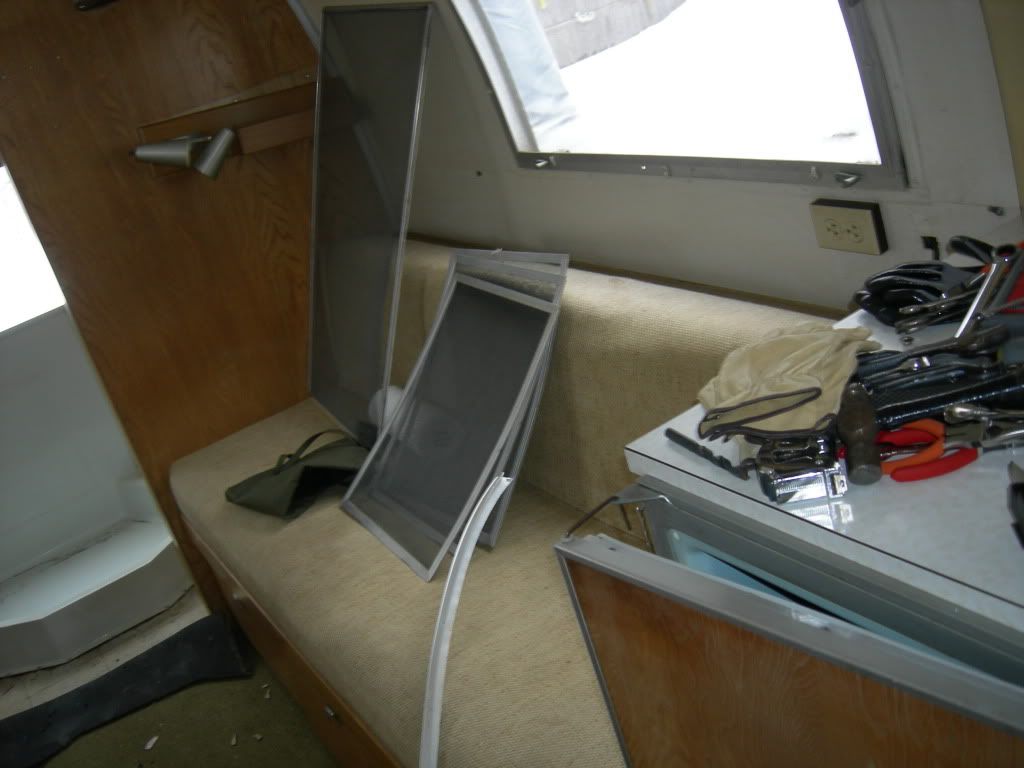
There was a wooden "shelf" that was behind the back cushion just below the window. I didn't take a picture of that but you can just see it in the shot below:
A few philips-head screws got that away from the wall, but it was also attached to the side frame on the right.
Couldn't get to that until I freed the whole frame so it dangled for a while.
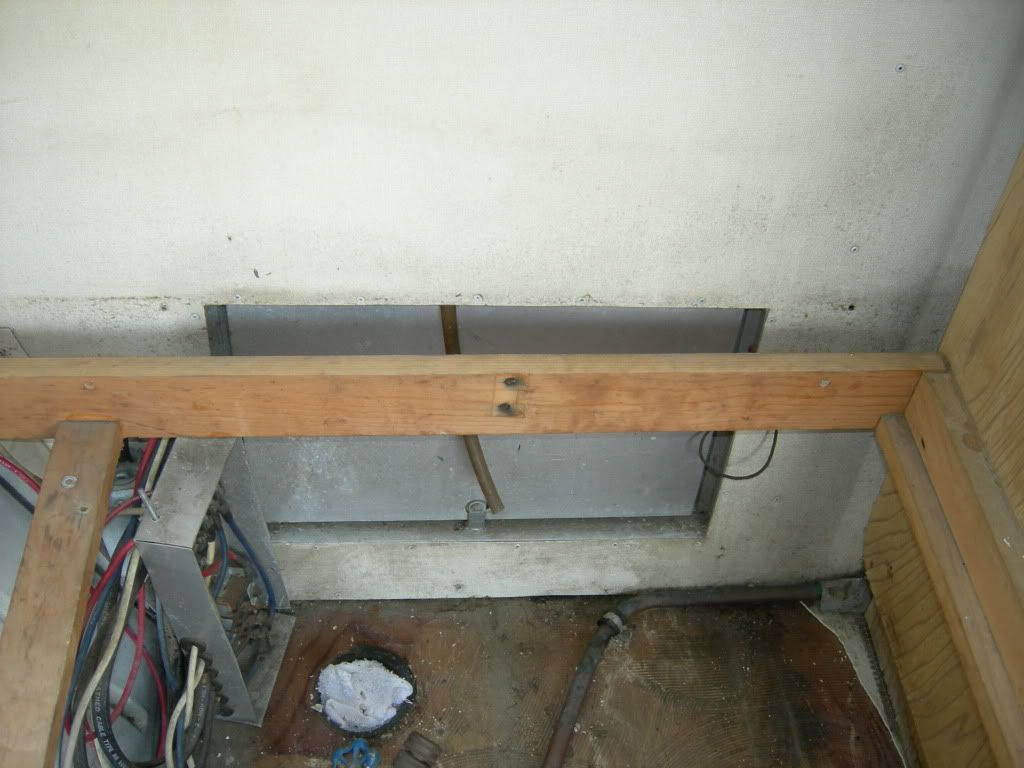
Then we removed the lower frame from the wall - again just a matter of a few philips-head screws.
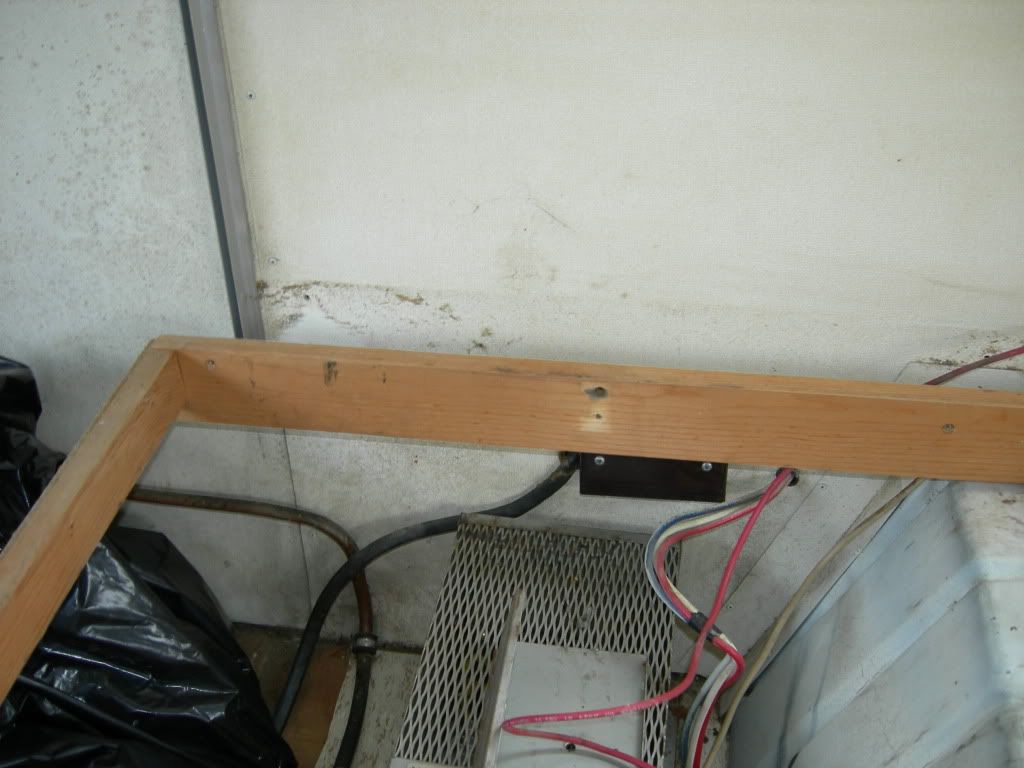
Then there were just two things remaining that were keeping the frame tied to the camper. One was the screws on the front frame into the floor.

This picture is of the galley frame but they were exactly the same on the gaucho frame. They were fairly long screws with slotted heads and a few of them didn't want to budge even with the perfect size screwdriver head. I was able to get a sawzall blade under the frame where the tiles had once been. That left just enough space to cut them off without damaging the frame.
I thought we'd be free at that point - but it turned out that the DC fuse box had been bolted through the frame as well.
Once that was done the gaucho frame was free. Now we just have to find a way to get it to storage - it's kind of big to put in the car...