Search This Blog

Thursday, March 3, 2011

Water heater - take 1

We found a great deal on a DSI (auto pilot light) propane PLUS 110V electric water heater at RV Parts Outlet (check their specials on the lower right). This will allow us to have propane heated water when we need it, but also allows us to use the campsite electric to conserve propane when we want to. Unfortunately it arrived damaged. The surround that mounts it to the exterior and holds the door was crunched, and one of the main power wires was sliced in the process.


The support at RV Parts Outlet was very good and the damaged unit has been picked up with the new one on the way. It'll be a few months before this gets installed so we're no worse for the wear. The only reason we purchased it now was to take advantage of the great price.

Tuesday, March 1, 2011

Inpection of water damage to floor

Pretty much everything is out now. That gave me a good look at the perimeter to see where water had been getting in. The worst was at the door. Probably due to a badly deteriorated door seal.


That clearly has to be replaced. There were a few other areas where water was clearly present including the front street side:


The front curb side:


And across most of the rear where the bathroom was - especially around the toilet area:


All in all it was quite a bit more solid than I had expected. I suppose we could do a patch job, but we signed up for the full-monty on this one and we want to be certain that everything is completely solid. So a bit more cleaning then we start planning for belly pan removal and inspection, then lifting of the shell. It may be a while for that though since we really need the weather to break first.

Removing Front Gaucho


Found some time over the weekend to get back to it. I had snuck in some time and removed the refrigerator last week but unfortunately neglected to take pictures. It was a reasonably straight forward affair. The unit was bolted to the floor with four bolts. Three unscrewed but one had to be sawed off. Other than that it was a case of unplugging and unhooking the propane lines and it was out.

Now it's on to the front gaucho. Much the same as the side but I took a few more photos to document things I missed with the side unit. The plywood base for the cushions was easily accessible by flipping up the cushions as you can see above. That gave access to the five Philips-head screws that mounted it to the sliding rails.The cushions and the plywood all came off together and left the frame.


The frame rails were attached with hinges in the back. I'm not convinced this was the way it came from the factory, but it was solid. I unscrewed those to remove the slid-out assembly. Then it was pretty much the same as the other unit. Had to undo the bottom frame screws that attached it to the floor and a few in back to get the whole frame out. There was a shelf below the window that was also as easy as removing a few screws. With the all that off there was just the fresh water tank and pump left.


The tank was just held in pace by the gaucho frame and it's connections to the pump and plumbing so getting it out was pretty easy. The pump was held in place by four screws. The front two were easy but the rear two were a tricky angle due to being so close tot the wall.


There was a table on the right side of the gaucho which came out by removing a few screws and rivets too. Once that was out it was pretty clear. Time to clean up and inspect the newly clean slate.

Friday, February 18, 2011

Removing Side Gaucho


Our next bit of progress was to remove the side pull-out couch a.k.a. gaucho. Overall this was a pretty simple process. The wall on the left had been removed in the bathroom extraction. There were a couple of screw in either direction into that wall. Removing them was just a matter of sliding the bed frame to a position that allowed us to access the screws.

The cushions sit on a piece of plywood. That is secured to the sliders by a few screws as well (5 in our case). Once those were removed all of the cushions came off with the piece of plywood as a single assembly. At that point we were down to the wooden frame.

There was a wooden "shelf" that was behind the back cushion just below the window. I didn't take a picture of that but you can just see it in the shot below:


A few philips-head screws got that away from the wall, but it was also attached to the side frame on the right.


Couldn't get to that until I freed the whole frame so it dangled for a while.

Then we removed the lower frame from the wall - again just a matter of a few philips-head screws.


Then there were just two things remaining that were keeping the frame tied to the camper. One was the screws on the front frame into the floor.


This picture is of the galley frame but they were exactly the same on the gaucho frame. They were fairly long screws with slotted heads and a few of them didn't want to budge even with the perfect size screwdriver head. I was able to get a sawzall blade under the frame where the tiles had once been. That left just enough space to cut them off without damaging the frame.

I thought we'd be free at that point - but it turned out that the DC fuse box had been bolted through the frame as well.


Once that was done the gaucho frame was free. Now we just have to find a way to get it to storage - it's kind of big to put in the car...

Tuesday, February 15, 2011

Bathroom out

We learned through the help of the airstream forums airforums that the toilet flange screws into the "black" tank below it. It didn't want to budge so I threw together a make-shift tool with a piece of flat steel and two bolts spaced just right to fit in the holes of the flange:
It fit and worked perfect except for the fact that the flange just didn't want to let go. Ultimately I had to hit it with the sawzall. Once I got a small piece out the tool was able to unscrew the remaining potion. Here's what was left:


That freed up the lower section of the bath which just fit out the door (with some real effort to twist and turn it just right). Then getting the black tank out was just a matter of a yank and a quick hit of a drain pipe with the swazall again:


Floor rot wasn't as bad as I had expected. Still planning to do the whole shell-off version of refurb though. I'm sure I'll need to deal with some frame rust and it'll be easier to do that and install tanks with the shell off.

With the lower bath and both closets out you can really tell the difference the open space makes.

That took about 30 minutes after work Monday and it rounded out the weekend effort to look like some real progress had been made. Next time - the side gaucho then on to the galley and refrigerator.

Started Disassembling


Spent some time over the weekend getting started with the disassembly process. Goal was to get the lower half of the two piece fiberglass bathroom out. 

It's a two piece fiberglass affair in the rear of the trailer. There's a top "end cap" from the ceiling to the bottom of the window, and a lower half that has the sink in the left corner, shower in the middle and toilet on the right corner..Made good progress but not quite done yet. 


Here's how the process went:  

Started by removing the two closets that flanked either side of the bathroom. They were pretty easy to remove since we weren't trying to salvage anything other than the aluminum mounting channels. We didn't have to be too careful about the wood. A few rivets, a few more screws and we were able to pry the rest away.


Then we had to remove the rivets that hold the trim across the seam of the two fiberglass halves - and the trim around the window. Pretty simple with a 1/8" drill bit. I quickly found that the better quality drill bits are worth it as the "cheapos" went dull after a few rivets.


With closets gone we were able to access the hidden rivets under the sink.


That got the sink side free and we could move it, confirming that everything was apart on that side. Then we moved on to getting the screws along the front of the shower out. They go directly into the floors and were all rusted so we had to hit them with a sawzall to free it up. We also needed to unhook the drains. Easy under the sink - just cut those out. The shower was a bit tricky. We were able to free it up by taking a couple of open end wrenches and sticking one into the drain catching the crossing metal at the bottom - then using the other in the opposing claw as a "T" handle and unscrewed the drain plug.


That freed almost everything up except an area behind the toilet. The toilet flange goes into a black tank under the molded bathroom floor. The two appear to be joined with some type of adhesive since we were able to remove every visible screw, rivet and bolt. The flange and tank wiggle freely but something is still holding onto the lower molded bathroom. Best guess is that there are a couple of more rivets through the fiberglass into the sidewall that are hidden by the black water (toilet) tank that we can't remove.


We'll have to find what that is and deal with it next time since we're out of time for this weekend. Not bad progress for a couple of hours though.

Sunday, February 13, 2011

Cleaned up interior


Before getting started and before showing the formerly critter-inhabited interior to the Mrs. I needed to clean things up a bit. Above is a before picture - note the nice branches in a basket on each side of the upper cabinet complete with fake birds. Below is what it looked like as it got cleaned up.


Then with fold out table:


The entry door:


One window - all glass in place and all but one working crank mechanisms. Good news because these are hard to find!


The Galley:


Including a very clean, original Magic Chef oven / stove unit:


In the rear was the original bath - sink on left, shower middle and toilet on right:

There were closets on either side of the bath:


A second "gaucho" pull-out couch along the far side:


And an old but very clean Dometic refrigerator:


Now that everything is cleaned up and documented, the fun begins...

Thursday, February 3, 2011

First up - The Plan


Well I'm a planner at heart. As such the first thing I like to do is map out what is and what will be. That means coming up with a floor plan. Since the weather stinks, this is one thing I can make progress on  without having to take on the cold and snow.

Above is the layout that exists. It's mostly original. While in decent shape, it's beat enough that we'd have to do some substantial work anyway. So why not make it fit what we want to do a bit better?

I've put the current plan below. Scale is pretty close although not exact. We like to play cards while camping so a dinette is ideal. I put a small one on the side for that. This will enable us to keep the front sofa set up as a bed if we want. The only problem is that the small dinette is directly over a wheel well. That might take up most of the leg room. I've pushed it forward (right) to give us enough leg room. Hopefully it'll still be comfortable when I dry fit it.

The front sofa will convert to a Queen sized bed. I've been back and forth between making it a dinette, sofa or the "L" shape sofa. For now I've settled on the "L" since it seems most versatile. Thanks to folks at the airstream forums airforums for input on this.


Getting started...


Our family has gone through the common camping progression of pop-up then travel trailer then motorhome (Class C). When our youngest outgrew his enthusiasm for camping we couldn't stand to watch the motorhome go unused so we sold it. It wasn't long before we realized that we missed camping and decided that we parents would eventually get back into it on our own. There was no hurry though, so we took some time to think it through.

We wanted something without a motor since it could easily go months unused and we don't want to worry about the maintenance (and depreciation). We also wanted to avoid the need for a giant tow vehicle. Ultimately we decided that we'd like a moderate sized Airstream due to the quality construction, the look & feel as well as the history they represent. The price of buying new was a bit prohibitive so we decided to start looking for something used that we could work on and create exactly what we'd like.

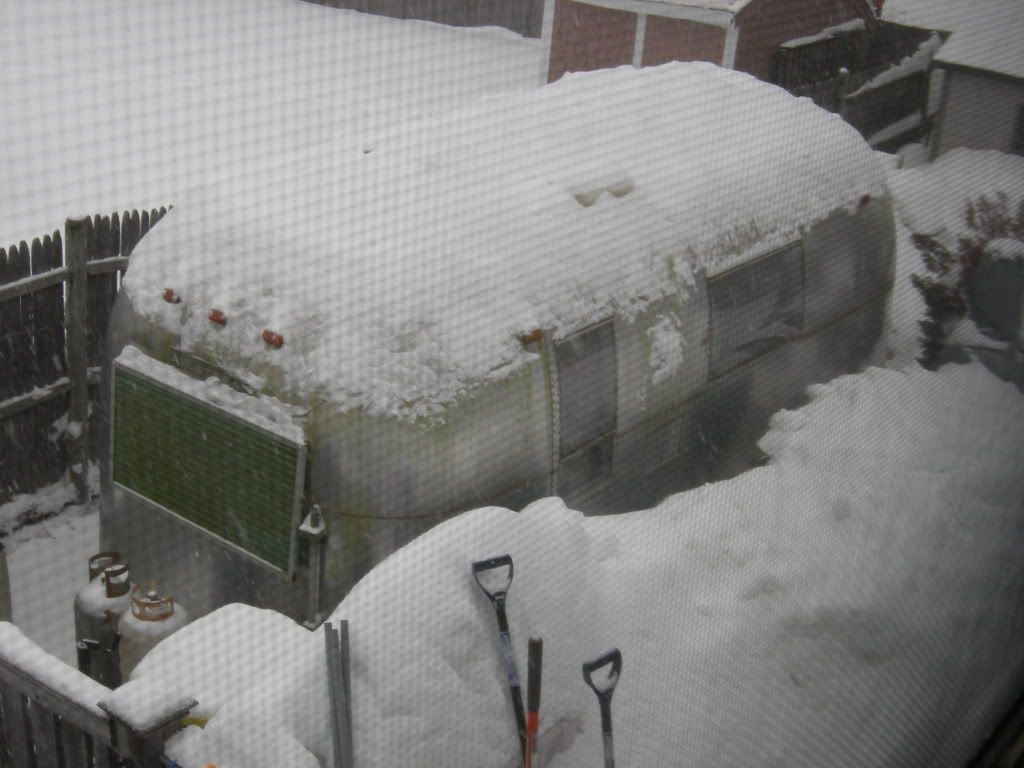
After more than a year of monitoring Craigslist, eBay and numerous other sources we found that landing the right size, condition and price was quite difficult. Luckily a few weeks ago a listing appeared on Cragslist for a 20 foot, 1966 Airstream Globetrotter. After a few phone calls, a quick inspection and some negotiation I was able to secure it for a great price.

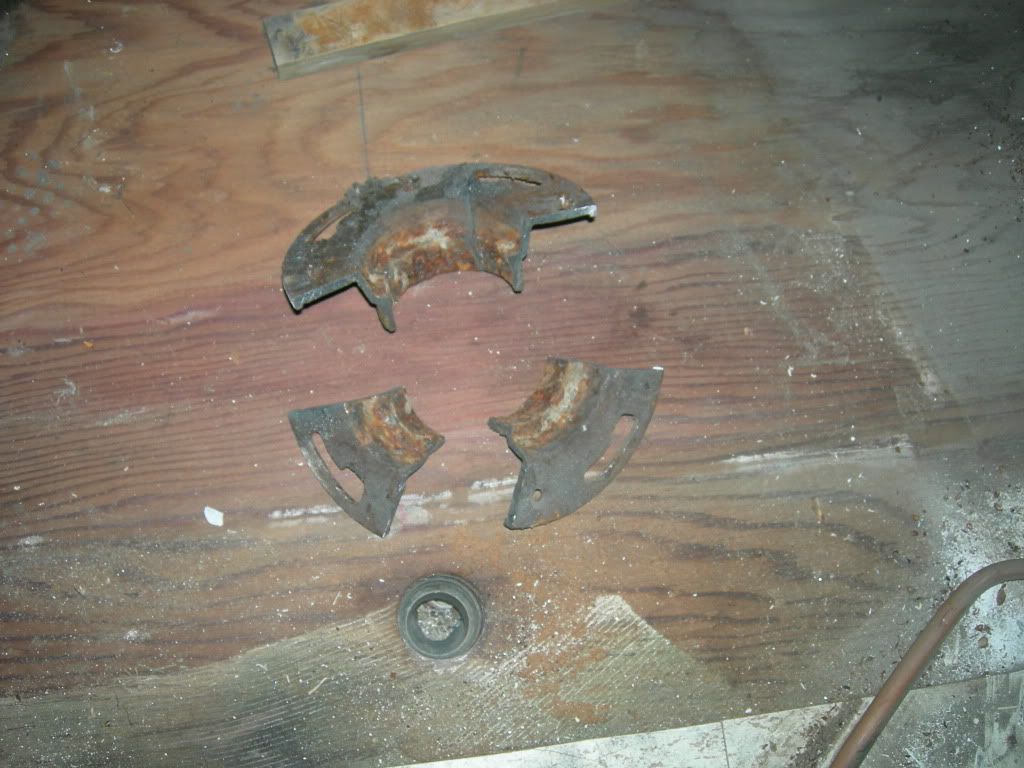
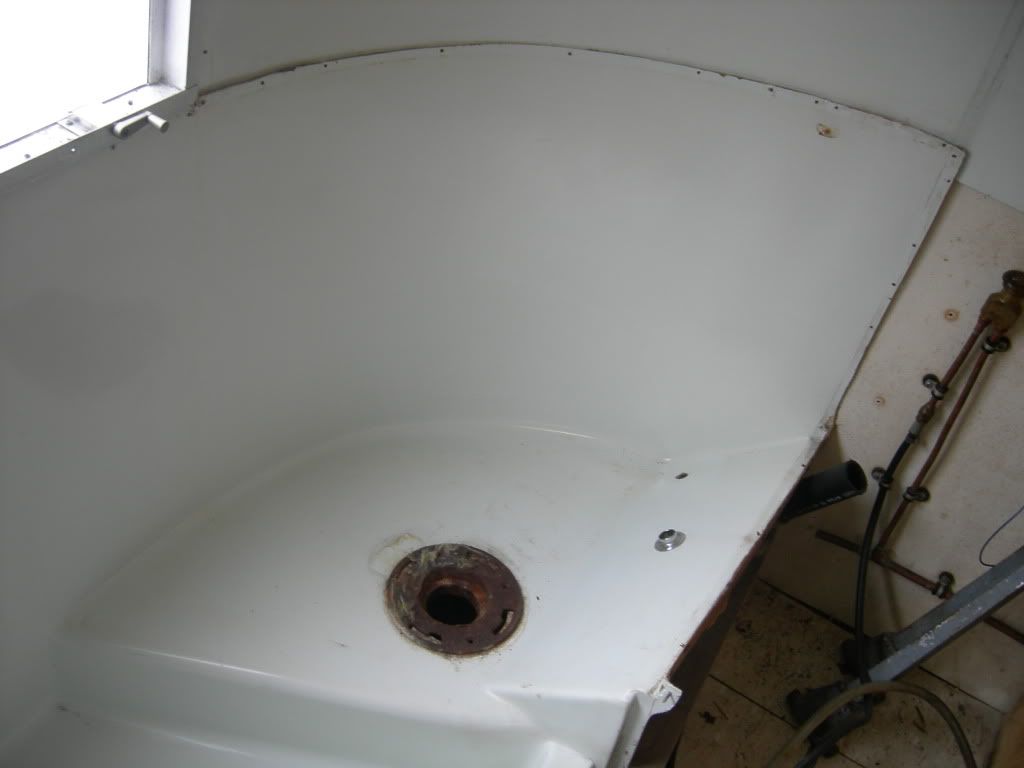
Although it was near, getting it home was no small effort. It had been sitting for over a decade and the tires were both flat. The axle was tired but appeared serviceable enough to make the short trip home so I went about securing new rims and tires to pop onto it for the trek to it's new home.

The trailer was owned by a family who's father had recently passed on. This together with the fact that it hadn't been registered since the 1980's made getting a Massachusetts registration a bit of an ordeal. After numerous discussions with the insurance company and the RMV - not to mention an understanding seller - I was finally able to secure the right documentation to enable getting a plate.

Unfortunately this all happened while Massachusetts was being hit by one of it's worst winters in history. With nearly three feet of snow on the ground and the threat of two more on the way I decided I'd enlist my 14 year old son to help me dig it out and bring it home. THAT took a while (my back is still sore). Jacking up a trailer high enough to replace two flat tires while on frozen ground and in a mountain of snow is no fun!

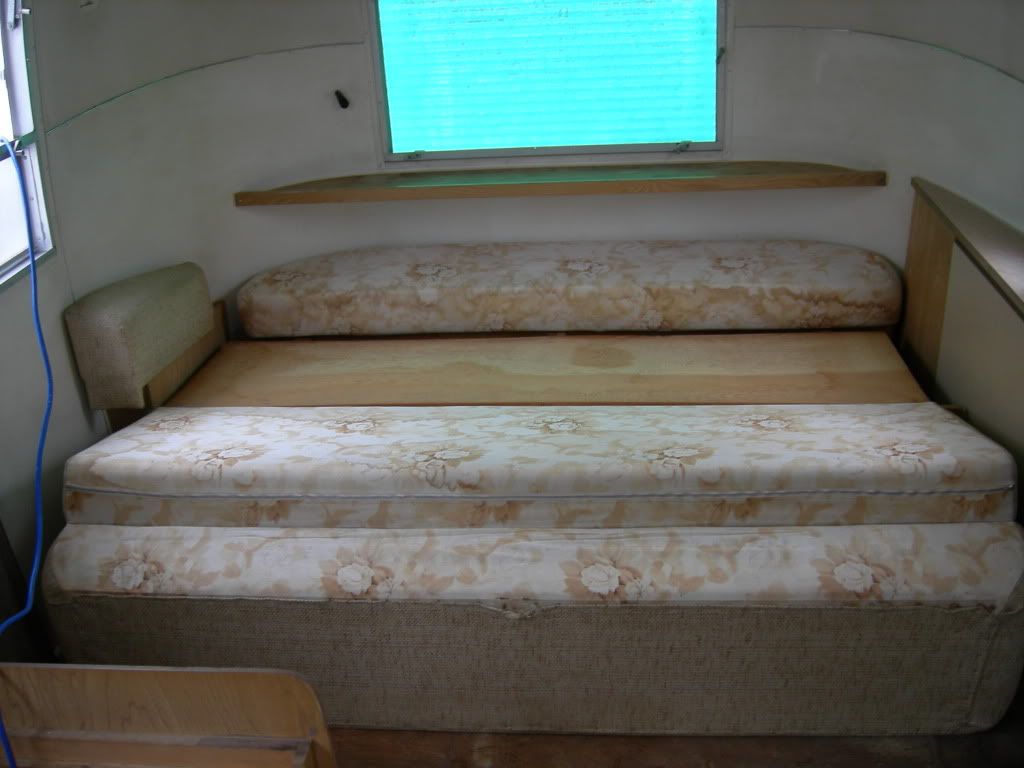
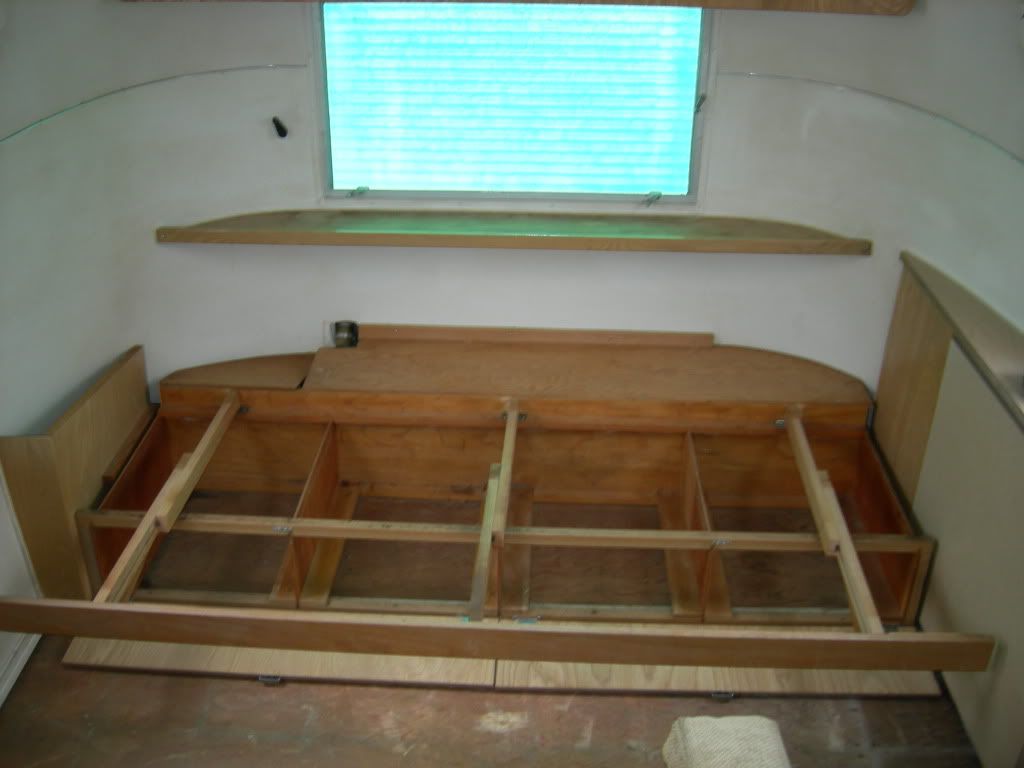
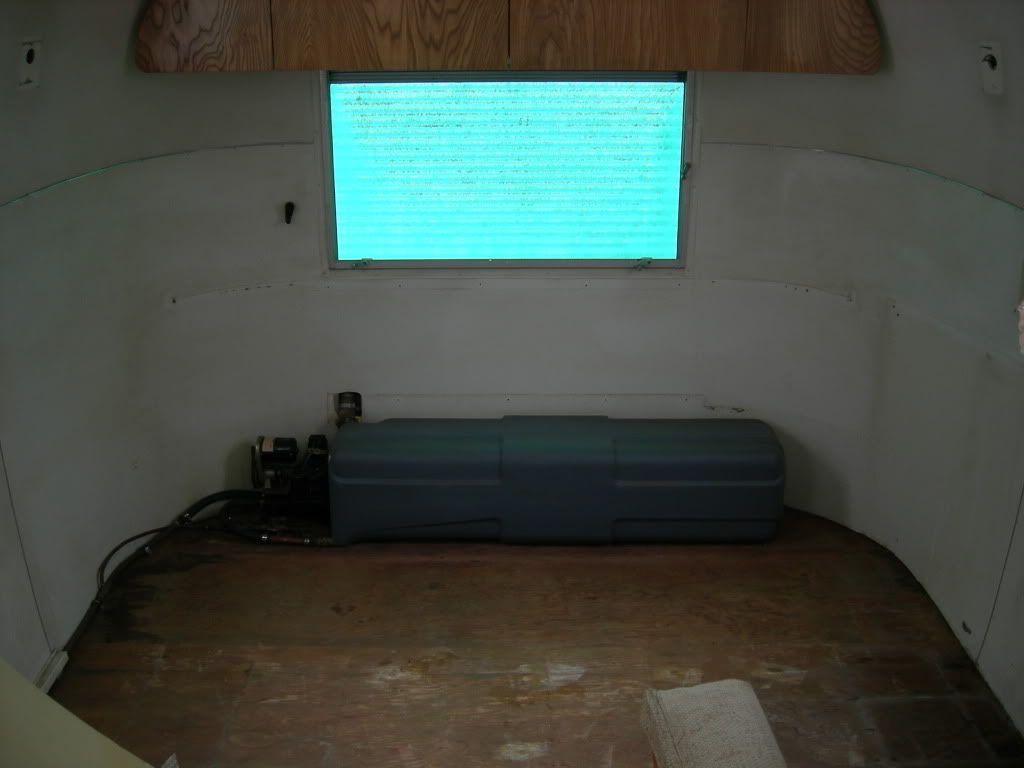
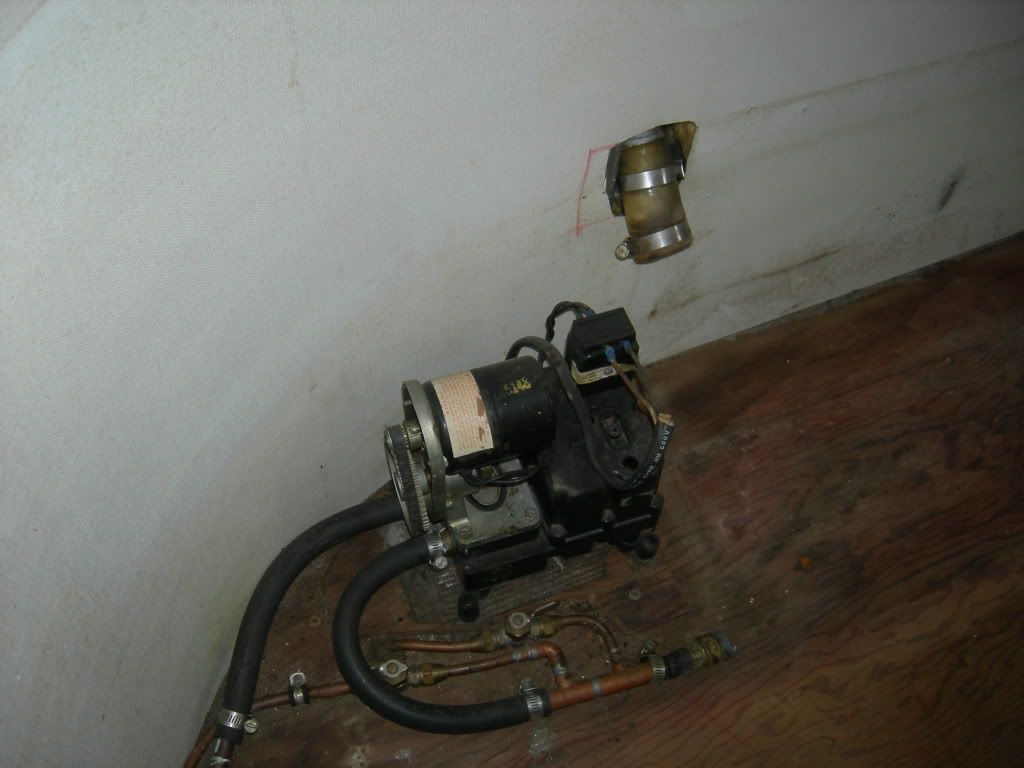
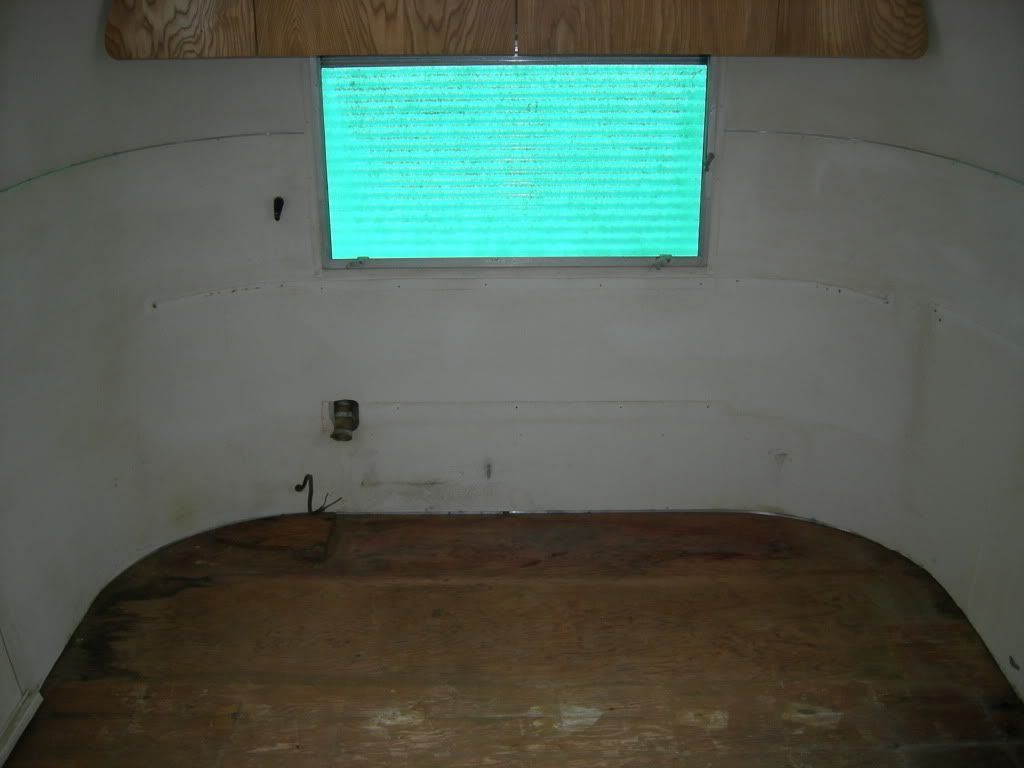
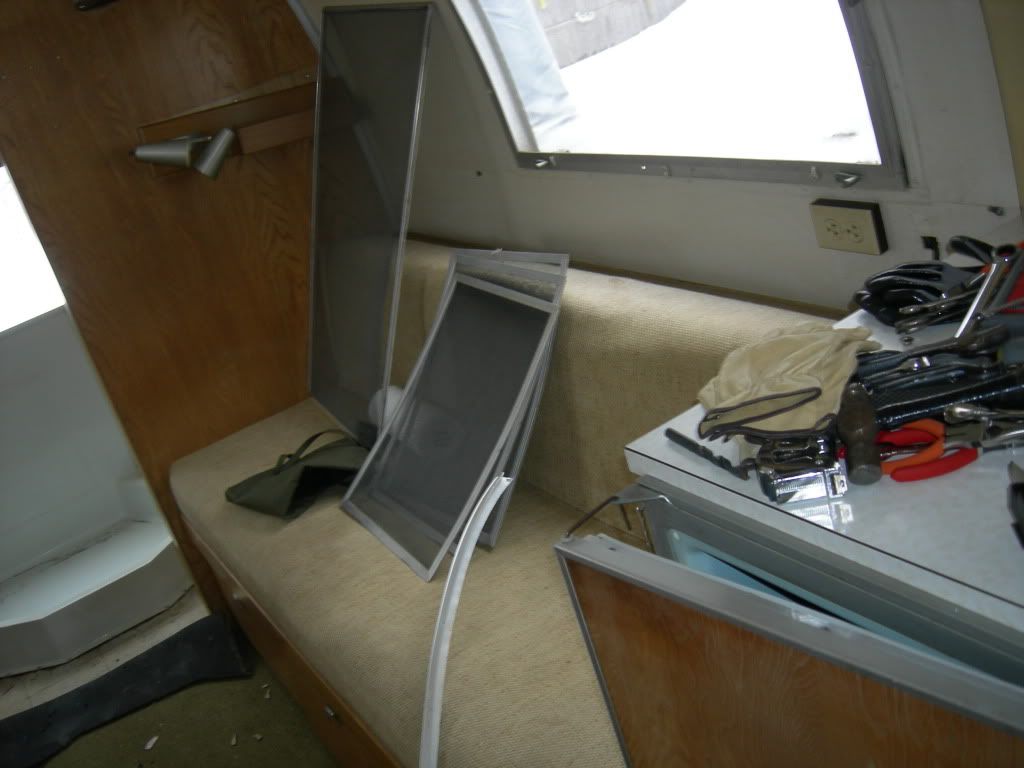
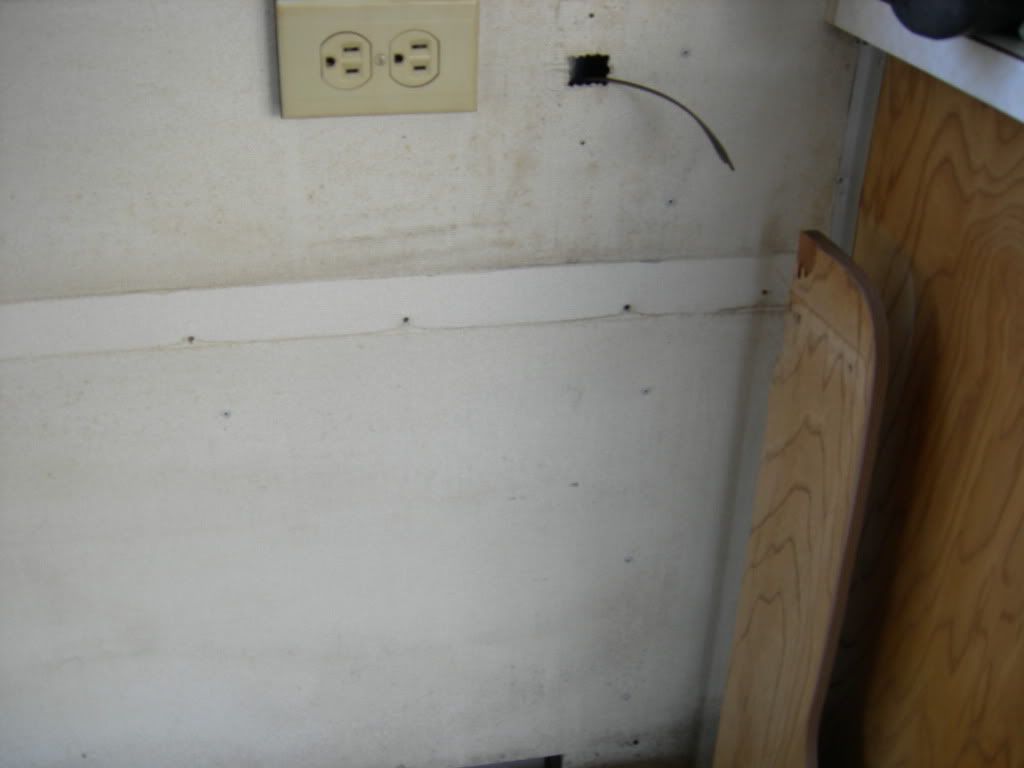
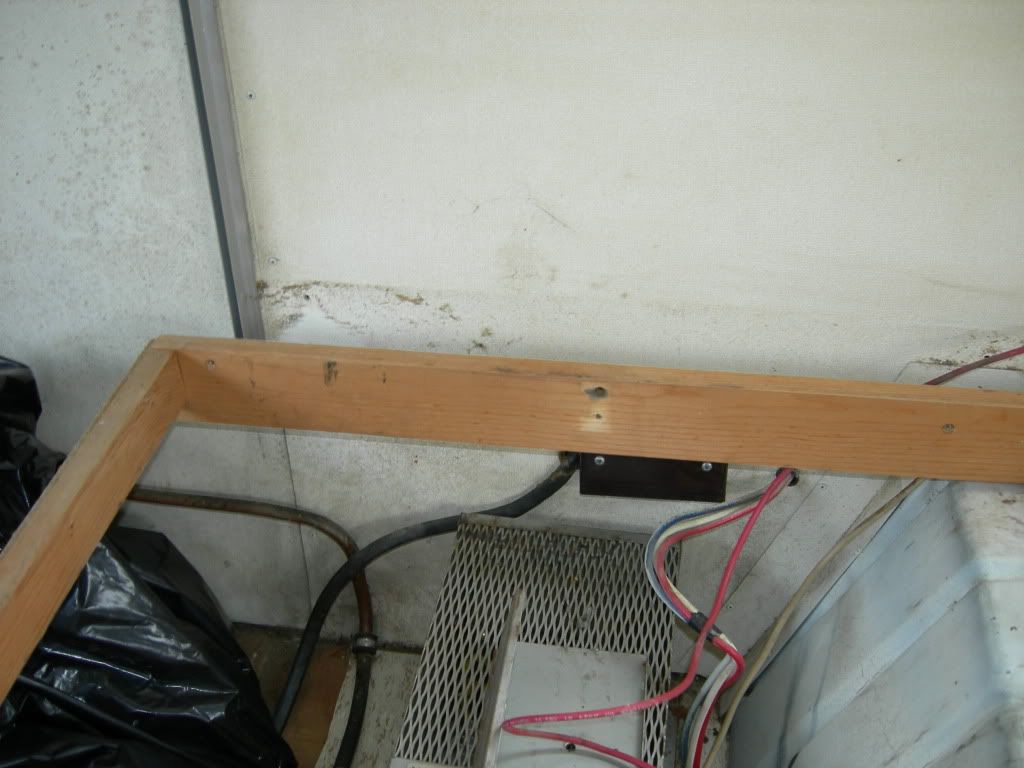
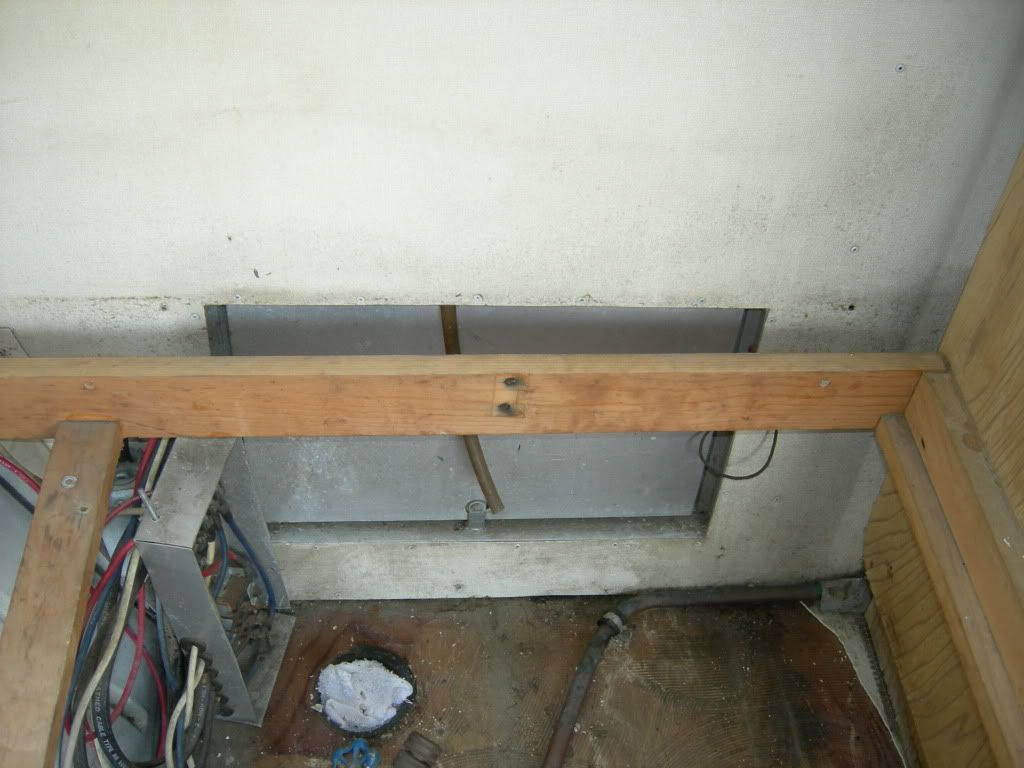
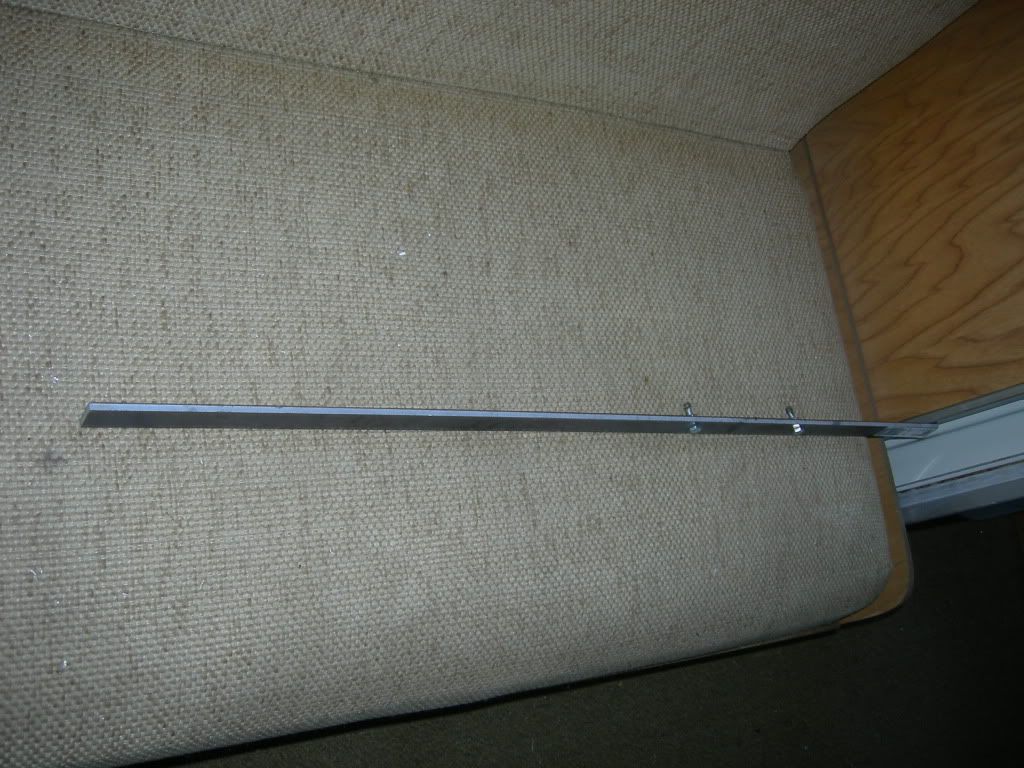
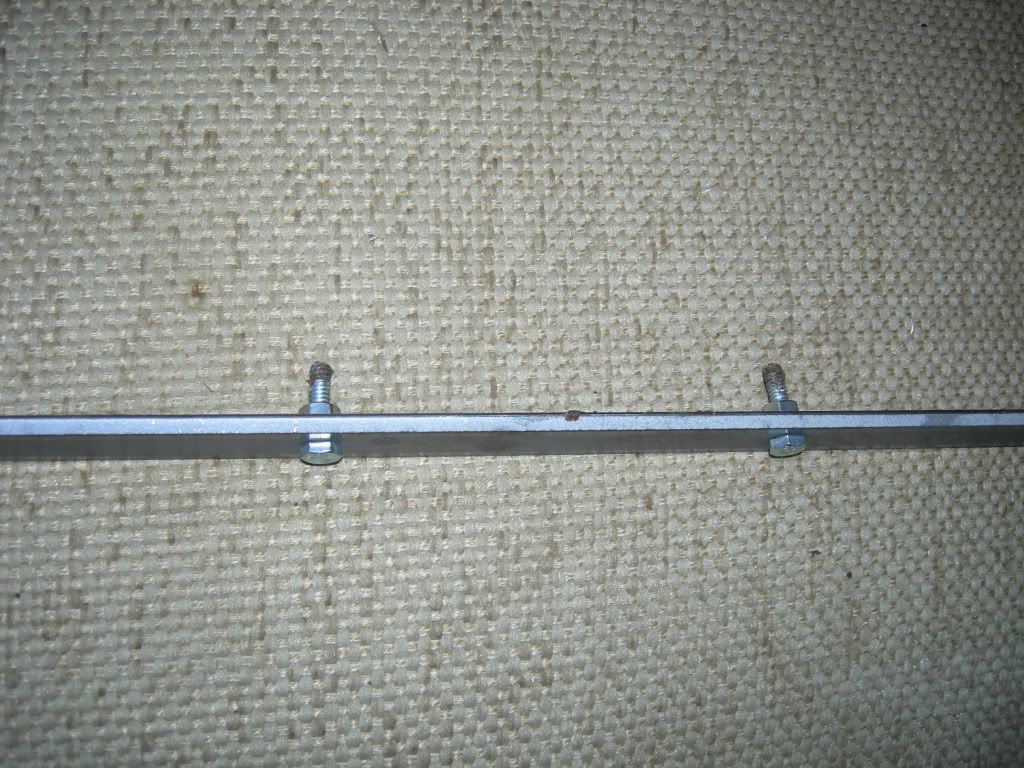
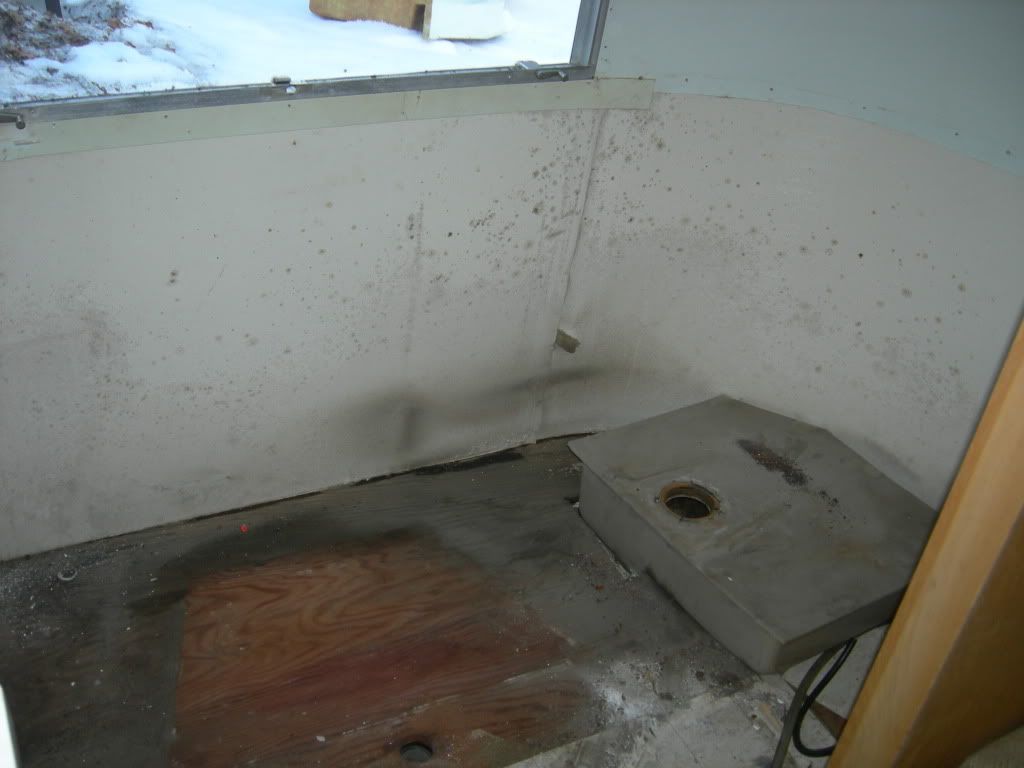
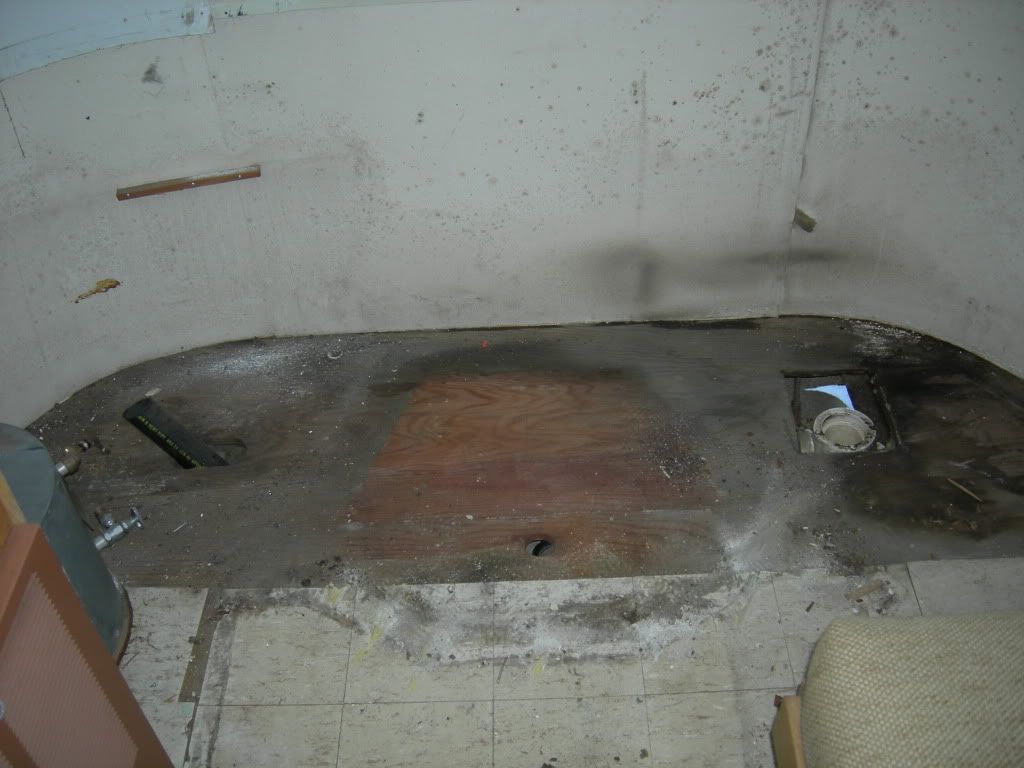
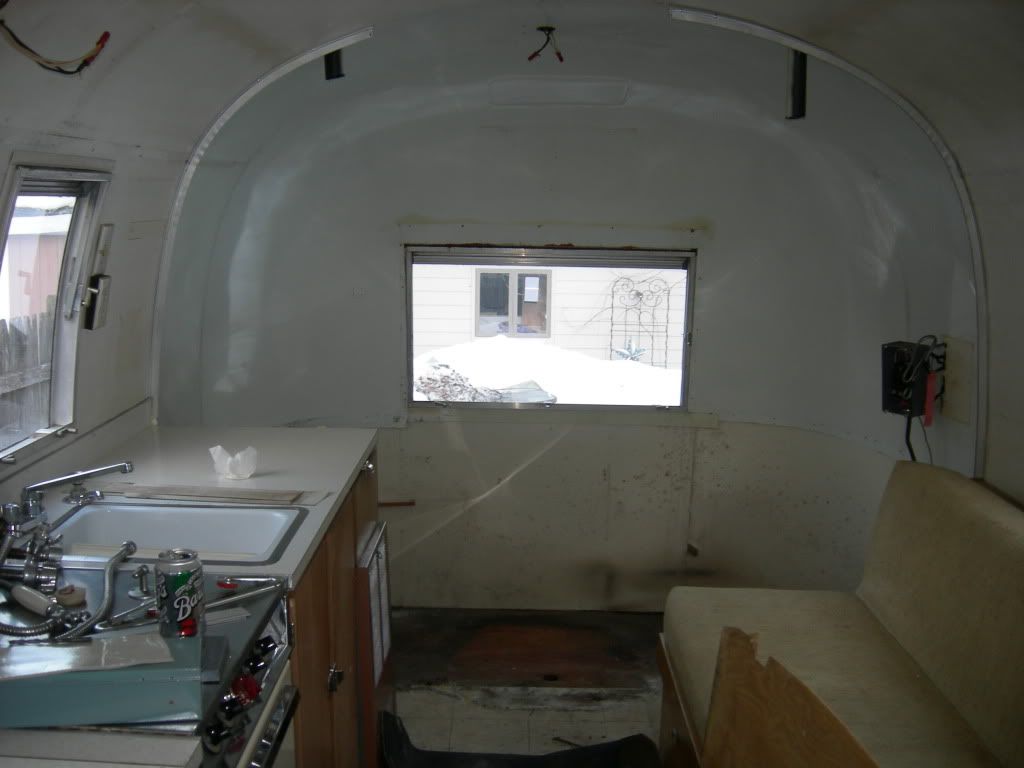
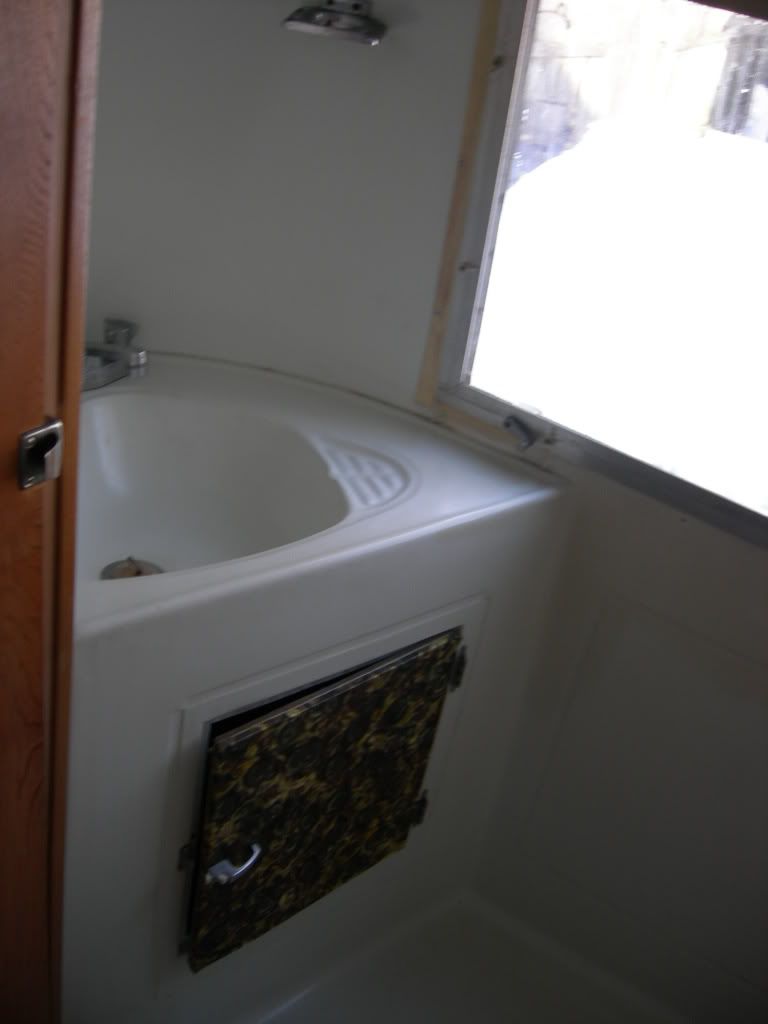
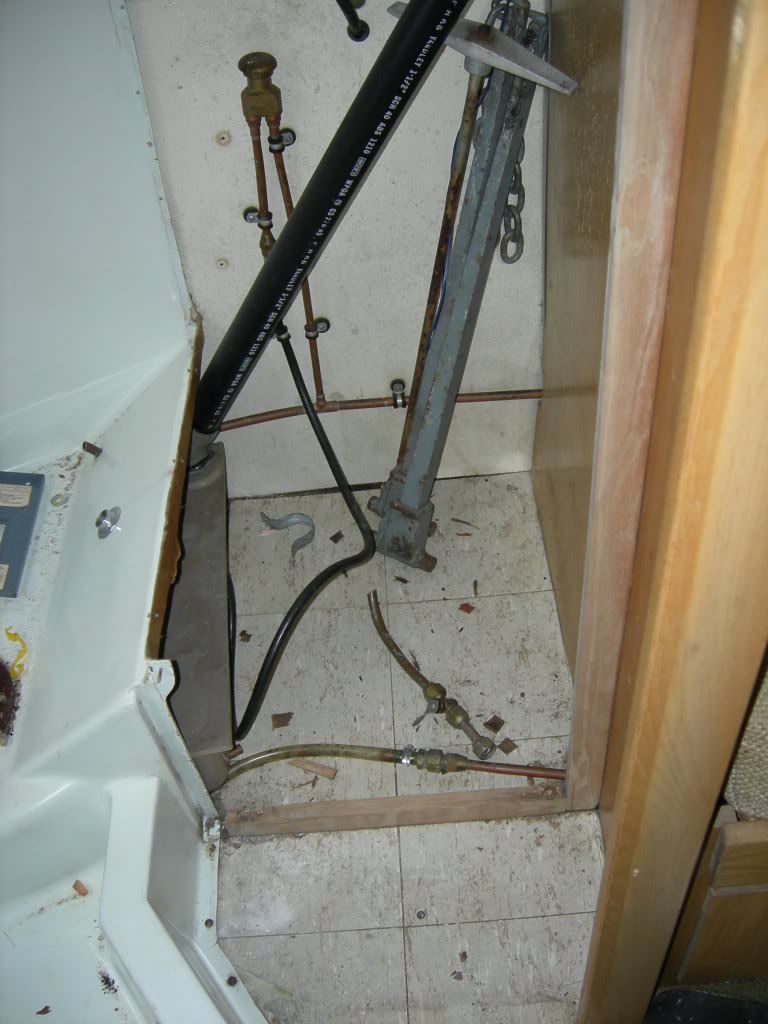
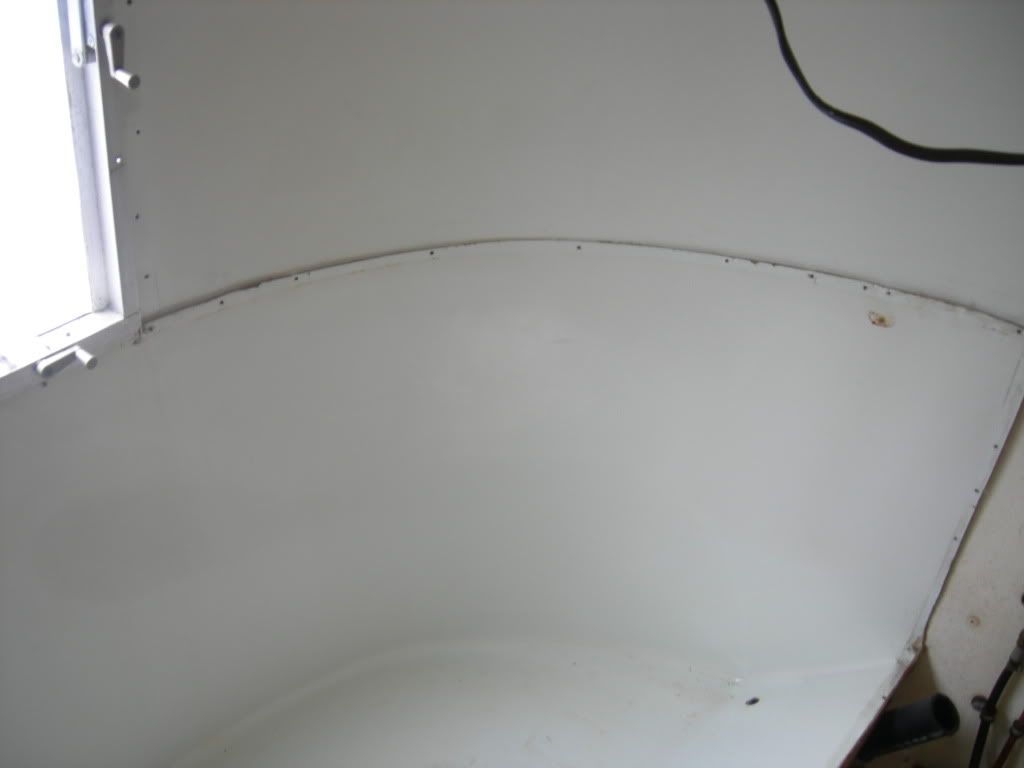
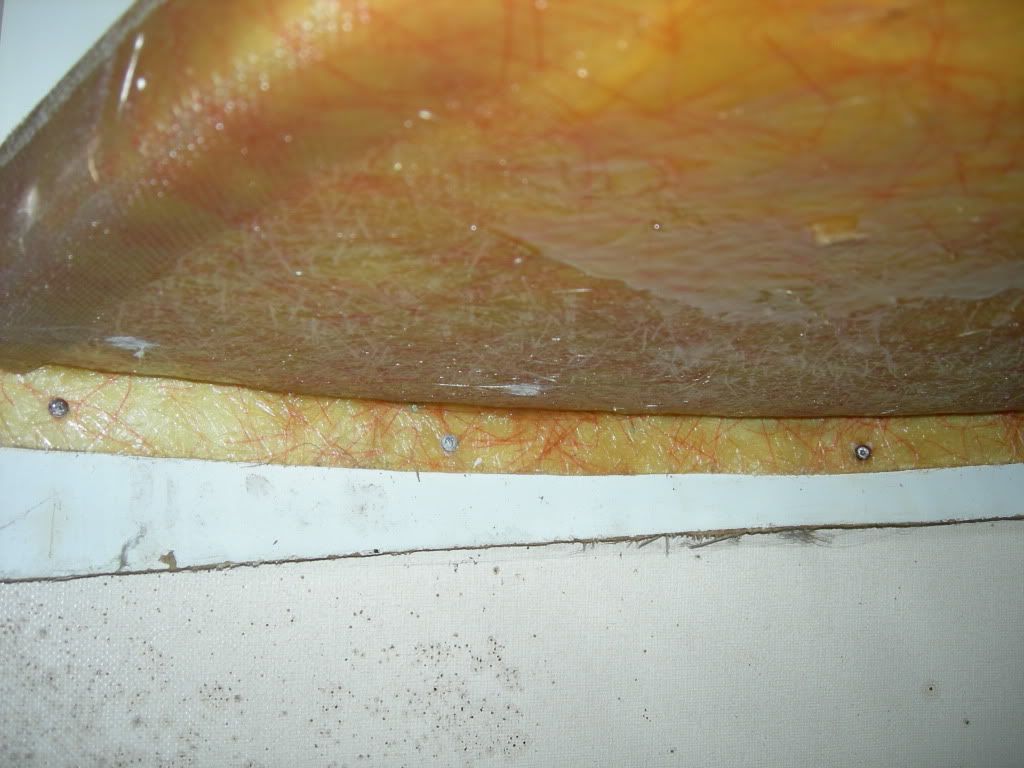
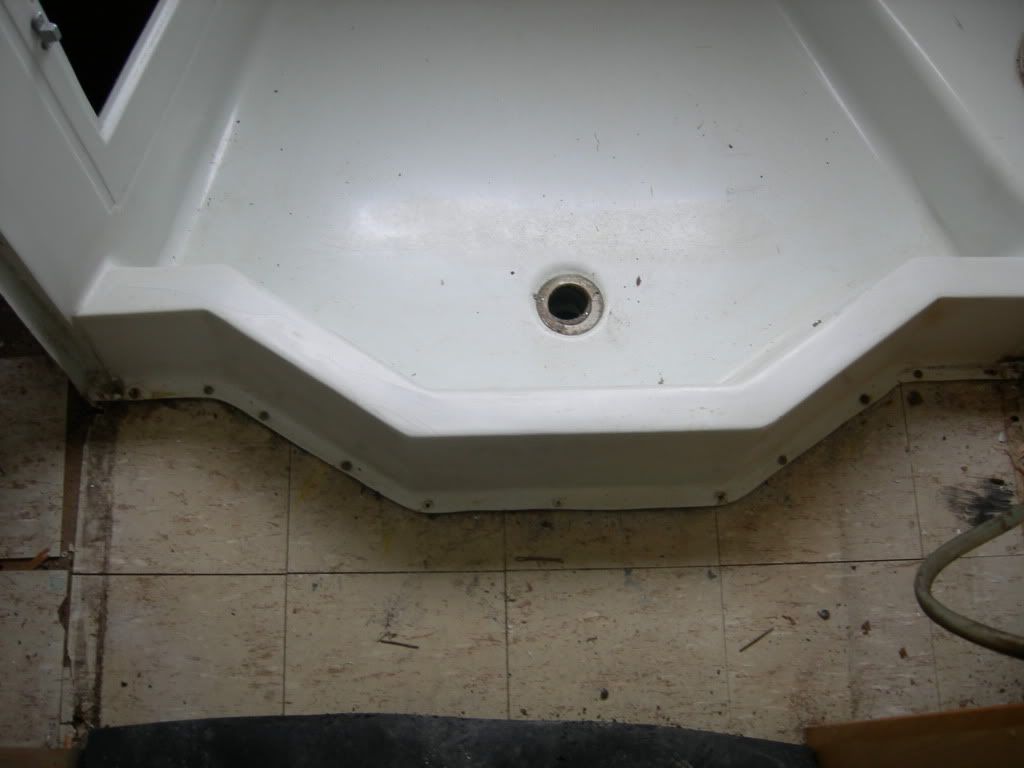
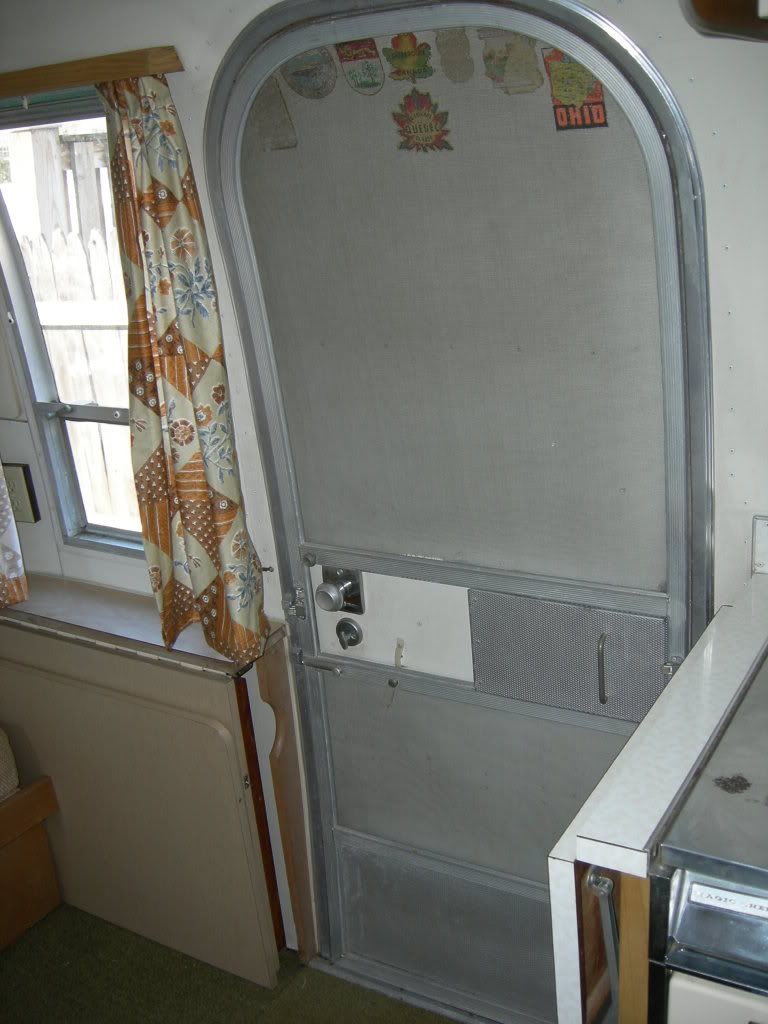
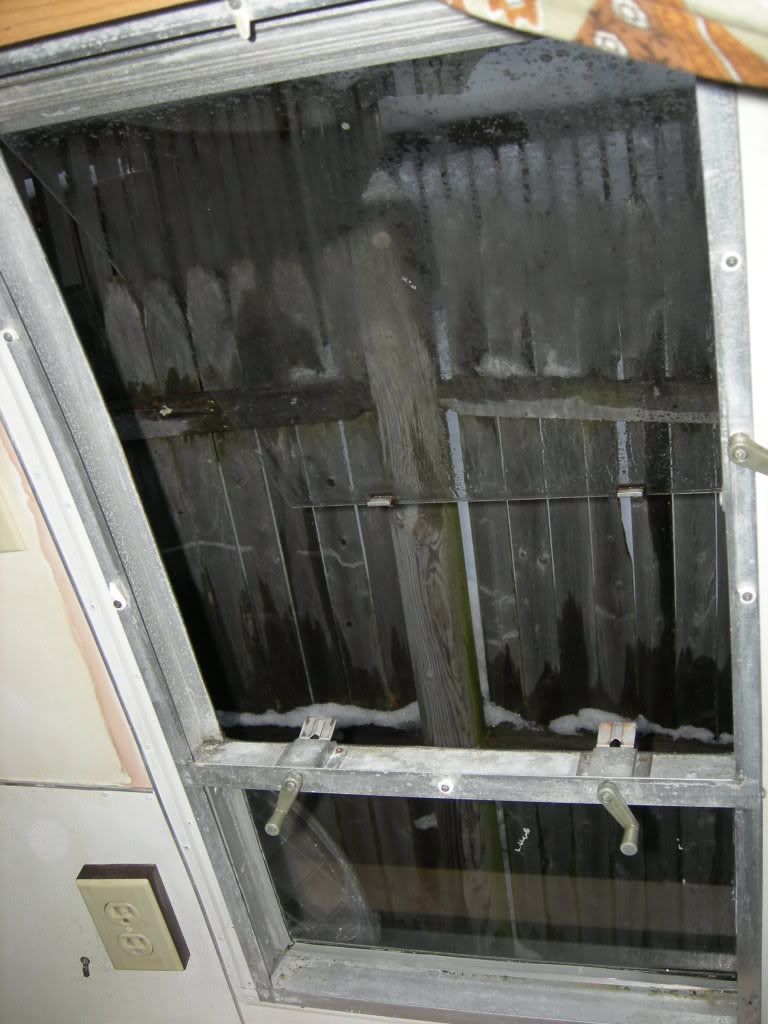
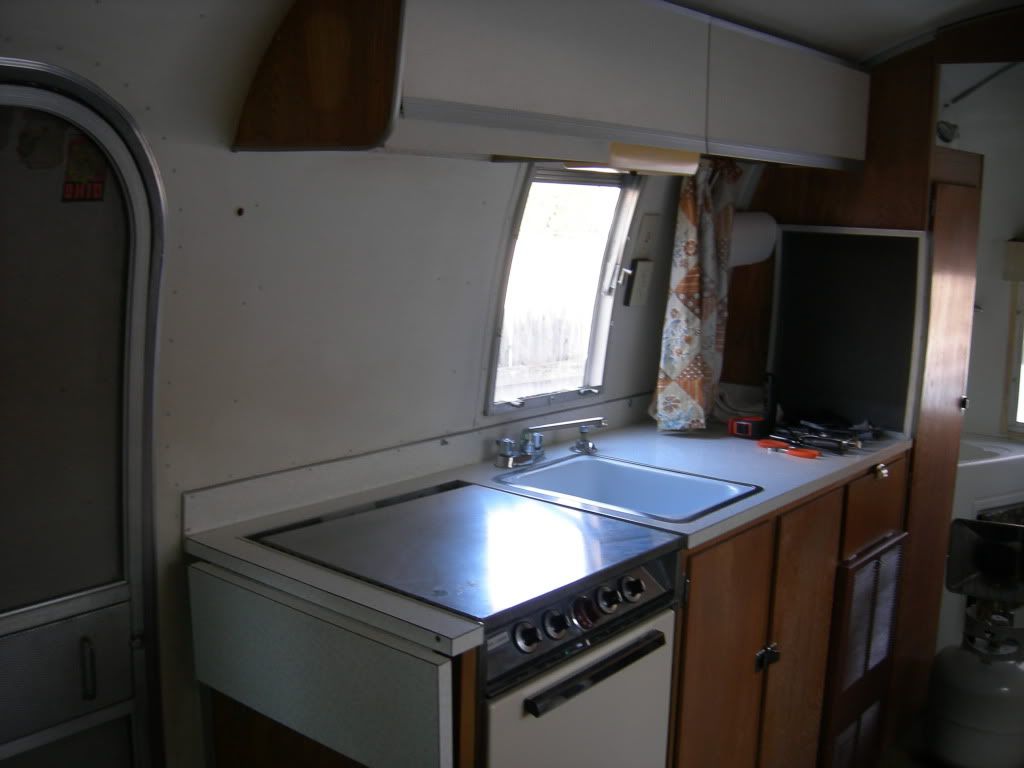
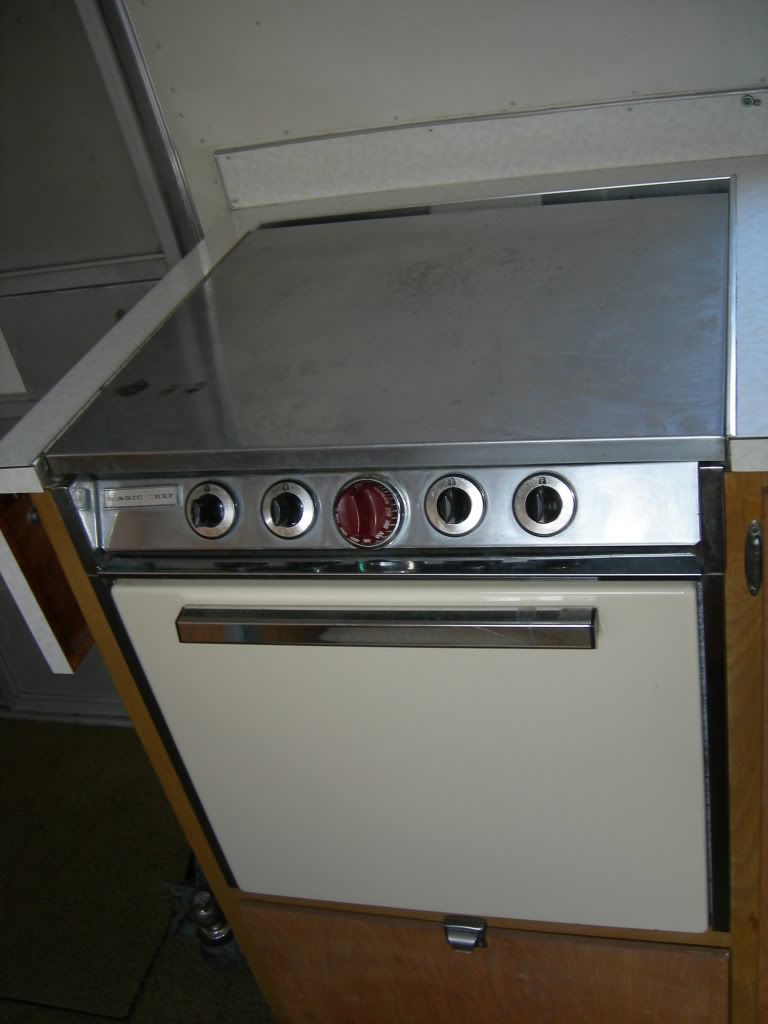
Ultimately we did get it home. Thus begins this blog where I will attempt to document the process of bringing this hopefully hidden gem into the new millennium and starting it's second life.